
©Fairy Designs Tutorials-2014
This tutorial is my own creation and written by me April 8, 2014. Any resemblance to others is purely coincidental.
This tutorial was written for those with a working knowledge of PSP. Please do not
copy or claim as your own. Anything you produce from this tutorial is yours to do what
you wish for personal use only. No profit is to be made from your results.
Materials Needed:
PSP X3 or any version should work.
3 tube's of choice. I am using the awesome art of Caron Vinson.
You can purchase her art at Creative Design Outlet.
You must have a license to use this art.
Scrap Kit Fairy Frolics by Mellie Beans
You can purchase it at Mystical Scraps or HeartBeatz Creations.
Mask of choice. I am using gemsmask212 from gemsmask set #205-213
You can get it at Gems Taggin Scraps
EyeCandy 4000 - Gradient Glow for text.
Lets get started.
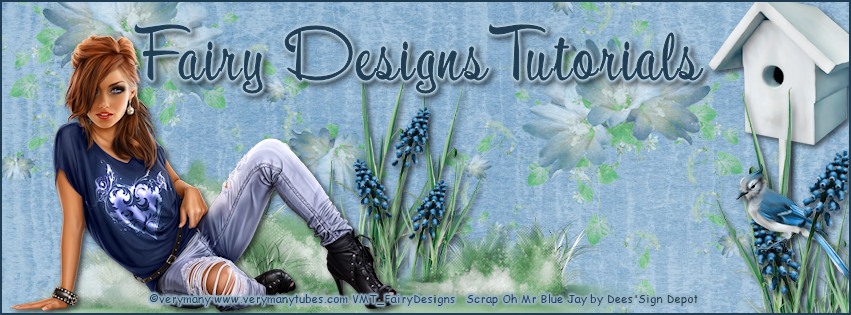
Open a new 800x850 transparent image.
See my tag for position of elements.
Open frame 3 copy - paste as new image - resize 65%
Image - free rotate - 90 - right.
Click inside one of the circle of the frame using the magic wand tool.
Selections - modify - expand - 3 - invert.
Open a paper of choice I used paper 8 and resized by 75% and then positioned to the right.
Hit delete on the keyboard.
Do not deselect.
Open your first tube - resize as needed - copy - paste as new layer position in the frame.
Hit delete on the keyboard.
Selections - select none.
Do the same for the second tube.
Make sure that all of these layers are under the frame layer.
Open you 3rd tube - resize if needed - copy - paste as new layer.
Open element 7 - copy - paste as new layer -resise 75% .
Duplicate and position down below the first, but leave it on top in the materials pallet.
Open element 14 - copy - paste as new layer - resize 35%.
Move this layer down under the grass layers.
Duplicate - image - mirror.
Move to the left a bit.
Open element 13 - copy - paste as new layer.
Position to where you like.
Duplicate - image - mirror - flip.
Again position to your liking.
I used the free selection tool and selected a few flowers and positioned them to my liking, like in the front. This is all up to you.
Open wa2 - copy - paste as new layer.
Apply a drop shadow of your choice. I used a darker one on the tubes that I did on my elements.
Crop and resize to your liking. Add © copyright information, license number and any text or name you want. Save as transparent png.
.
Thank you for trying my tut and I hope that you enjoyed it. Don't forget to send me your results so that I may display them in the Show off Gallery.
Hugs♥Terisa
No comments:
Post a Comment