
©Fairy Designs Tutorials-2014
This tutorial is my own creation and written by me April 3, 2014. Any resemblance to others is purely coincidental.
This tutorial was written for those with a working knowledge of PSP. Please do not
copy or claim as your own. Anything you produce from this tutorial is yours to do what
you wish for personal use only. No profit is to be made from your results.
Materials Needed:
PSP X3 or any version should work.
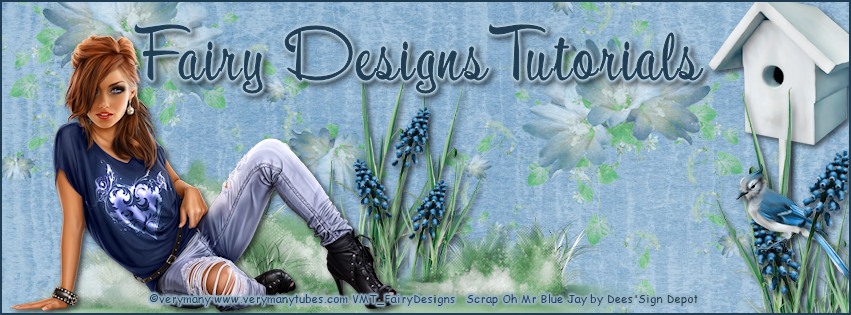
2 tubes of choice - one male - one female.
I am using the beautiful art of Verymany.
You can purchase it at VeryMany Tubes
You must have a license to use this art.
Scrap Kit Wish You Were Here by Jackie's Jewels
The kit can be purchased at Pimpin' PSPers Warehouse
Mask of choice. I am using 540InsatiableDreamsmask from Insatiable Dreams
EyeCandy4000 - Gradient Glow - for text.
Lets get started.
Open a new 600x600 transparent image.
Fill with white.
Add new raster layer.
Selections - select all.
Open paper 10 - copy - past into selection - select none.
Apply your mask - merge group - resize 90%.
Open frame 5 - resize 55% - copy - paste as new layer.
Click inside frame with the magic wand.
Selections - modify - expand 4 - invert.
Open paper 5 - resize 50% - copy - paste as new layer.
Hit delete on the keyboard.
Select none.
On both frame and paper.
Image - free rotate - 80 - right.
Click inside the frame as before.
Open one your male tube resize as needed - copy - paste as new layer.
Position as desired.
Hit delete on keyboard.
Apply drop shadow of choice to tube.
Close the mask and white layers.
Merge visible.
Resize 90%.
See my tag for position.
Open your female tube and resize as needed - copy - paste as new layer.
Position to the right of the frame.
Open flower cluster - copy - paste as new layer.
Using the Manual Color Correction - source - 478090 - target - 5d3b22
Duplicate the female tube -erase part of the leg closest to the frame so it looks as it is behind the flower cluster.
Open letter - resize 40% - copy - paste as new layer.
Image - free rotate- 27 - left.
Open ink & quill resize 50% - copy - paste as new layer.
Erase the feather that is laying down.
Crop and resize to your liking.
Adjust - sharpen.
Delete white layer.
Open wordartswril 1 - resize 55%.
Recolor as before using - source 6b5335 - target - 391d08.
Appy Eyecandy 4000 - gradient glow - with these settings.

Move this layer behind the first tube layer.
Add a drop shadow to all elements and to only the bottom copy of the female tube.
Add © copyright information, license number and any text or name you want. Save as transparent png.
.
Thank you for trying my tut and I hope that you enjoyed it. Don't forget to send me your results so that I may display them in the Show off Gallery.
Hugs♥Terisa
No comments:
Post a Comment